
How To Install Steam In Ubuntu?
Steam has not been restricted to Windows users for a long time. You can also use the game platform under Linux Ubuntu.
Initially designed for Windows, Steam is now also available for Linux Ubuntu. If you want to play and communicate with Steam on Ubuntu, follow our instructions. By the way: Valve last confirmed the extended support until 2025 for Steam under Ubuntu.
Note: We used Ubuntu 20.04 in our guide. However, the instructions should also apply to other Ubuntu versions and Ubuntu-based distributions without any problems.
How to install Steam in Ubuntu
Follow our step-by-step instructions or take a look at the quick start guide.
- Step 1: First, make sure that the “multiverse” repository is activated for you. To do this, open a terminal, e.g. B. via [Alt] + [Ctrl] + [T] , and enter sudo add-apt-repository multiverse . Confirm the entry with your password and [Enter]. If the component is already installed, you will receive the message “multiverse distribution component is already activated for all sources.”
- 2nd step: Next, update the package lists using the sudo apt update command.
- 3rd step: Now install the Steam client via sudo apt install steam. The packages required are listed for you. Confirm the installation with [J].
- 4th step: After the installation in the terminal is complete, you can close it. Then search for ” Steam ” in the applications and start the application.
- 5th step: Steam automatically searches for updates and applies them. Wait for the updates to finish.
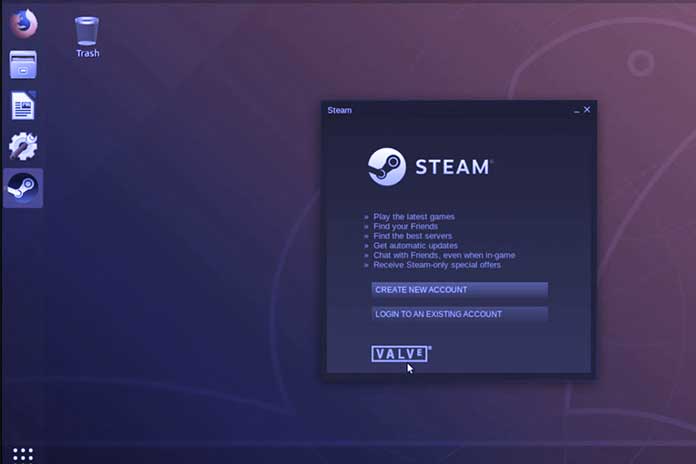
- 6th step: Then log into the game platform. If you would like to find out more about Steam, read our other articles under “More on the subject” – these can, of course, be used for the game client under Windows as well as Linux.